There are a lot of accounting software for managing users , but I think one of the best of them is Kerio Control.
kerio have many features like IPS, Antivirus,url and content filtring,Load balancing and Qos , managing Quota,dhcp server and DNS and etc…
In this article I try to say about a senario of setting up a kerio server and connecting clients to internet.
installing kerio is very very simple. I say brief about it and I say the senario later.
Minimal hardware required for installation:
CPU: 500 MHz
Memory: 1.5 GB RAM
Hard Drive: 8 GB HDD space for OS, product, logs and static data
.This depends by your network and clients
****Senario*****

For this senario I made two VM , One for client(Windows 7 ) and other one for kerio machine.
Open Virual Network Editor and Add new network (Like as vmnet10 in this Example). 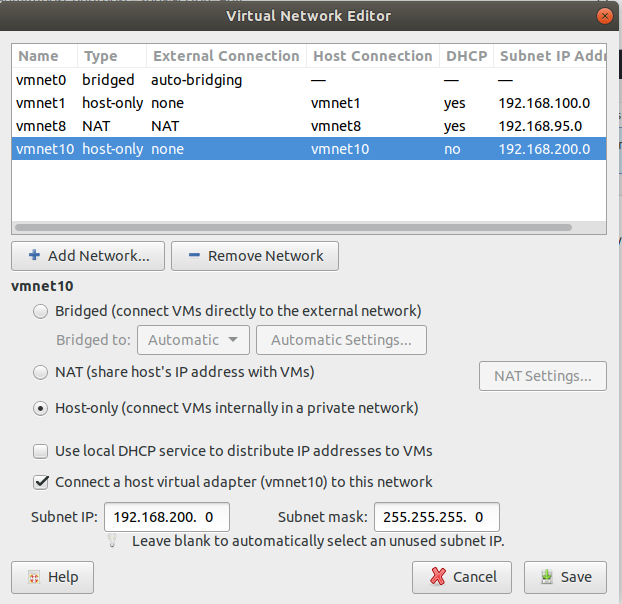
we use vmnet10 for connecting windows7 to kerio directly.
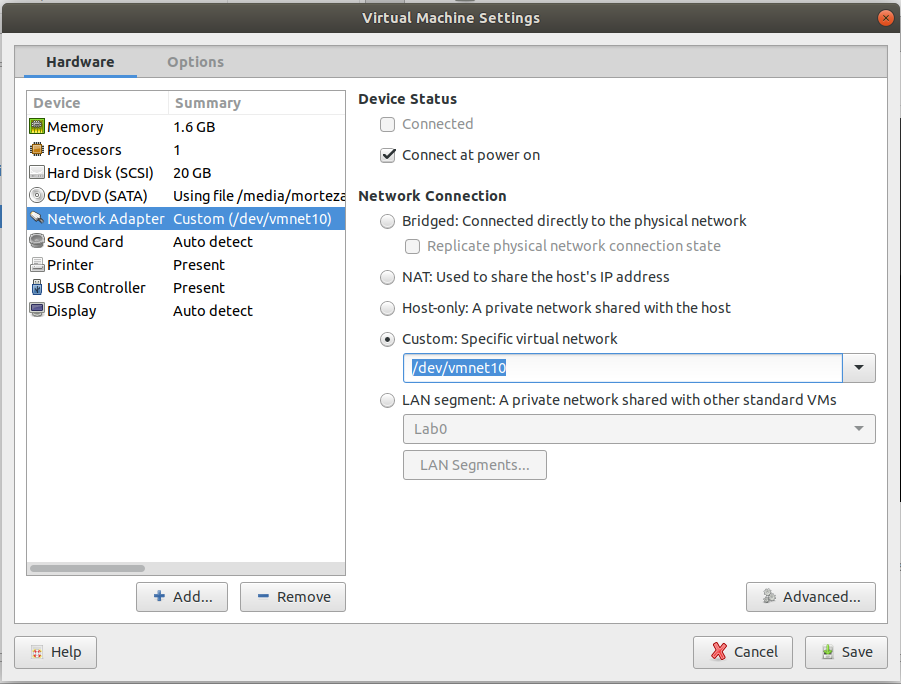
Kerio machine have two network . one for connecting to client and other for connecting to Internet. then you must use vmnet10 for lan network like windows network as picture above.
Now download kerio control iso file from www.kerio.com , and install kerio(this step is very simple )
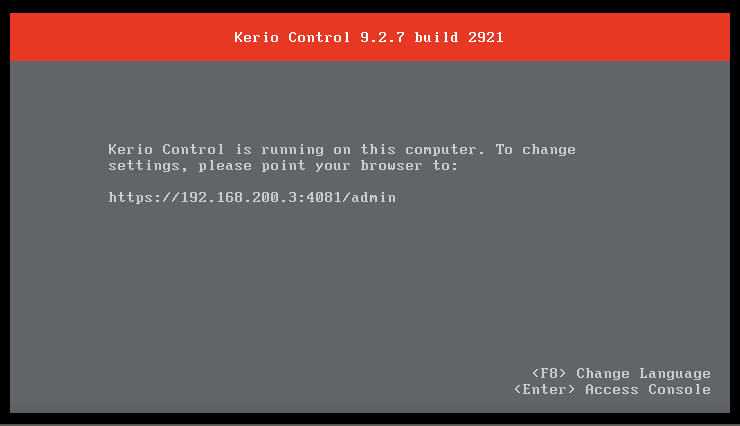
between installation you must answer to filed of username/password and Lan Ip address(we entered 192.168.200.3 here).
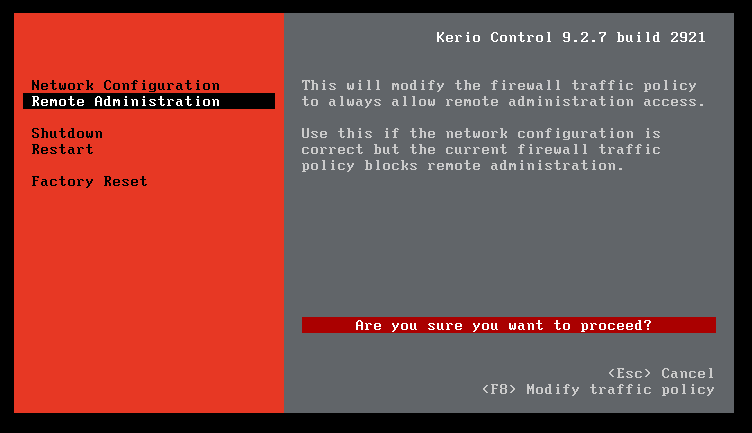
Now open Remote Administration by Enter and press F8(this is for accessing web panel remotely)
Then open the panel (from Vmclient): Https://kerio-control-IP-address:4081/admin (Https://192.168.200.3:4081/admin)
Horaaaaa!!!

INTERFACES:
Now you have one interface for WAN and one for LAN.
(you can drag and drop the interfaces)
I will come soon to continue this article!!