zabbix is a great tool that collect data from all device of the network such as Server,Router,Switches , DataCenter sensor’s,UPS, ….
Prerequisites:
- Centos server
Step 1 —
Start your server and get IP with ifconfig command, Or set new IP with nmtui command:
Now my server’s IP is : 192.168.25.128
To do this, we will do the following in order :
:$ ssh root@192.168.25.128
from https://zabbix.com/download get the latest version of zabbix
# rpm -i https://repo.zabbix.com/zabbix/4.0/rhel/7/x86_64/zabbix-release-4.0-1.el7.noarch.rpm

# yum install zabbix-server-mysql zabbix-web-mysql zabbix-agent
Step 2 – Install and Configure Httpd, PHP 7.2 on CentOS 7
#sudo yum install httpd

#systemctl start httpd

#systemctl enable httpd
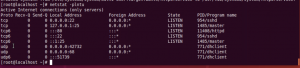
now Apache/httpd installed on the server. for check it using netstat command
#netstat -plntu
#yum -y install epel-release

#sudo rpm -Uvh https://mirror.webtatic.com/yum/el7/webtatic-release.rpm

#yum -y install mod_php72w php72w-cli php72w-common php72w-devel php72w-pear php72w-gd php72w-mbstring php72w-mysql php72w-xml php72w-bcmath
when the installation complete, we have to edit the default “php.ini”
#vim /etc/php.ini
max_execution_time = 600
max_input_time = 600
memory_limit = 256M
post_max_size = 32M
upload_max_filesize = 16M
date.timezone = Asia/Tehran
#systemctl restart httpd
Step 3 – Install and Configure MariaDB
#sudo yum -y install mariadb-server

#systemctl start mariadb
#systemctl enable mariadb
Now run the command below to configure MariaDB root password.
#mysql_secure_installation
If you installed Mariadb , and you havent set the root password yet, then the password is blank and you just Enter here(default password is blank)

after this level press “Y” and enter new password for root
Now, Mariadb has installed
Next we create a database for zabbix with username:zabbix and password:zabbix@
#mysql -u root -p
-> create database zabbix;

->grant all privileges on zabbix.* to zabbix@'localhost' identified by 'zabbix@';

->grant all privileges on zabbix.* to zabbix@'%' identified by 'zabbix@';

->flush privileges;

->quit
# zcat /usr/share/doc/zabbix-server-mysql*/create.sql.gz | mysql -uzabbix -p zabbix
(first ‘zabbix’ is user and the second is table’s name)
Edit file /etc/zabbix/zabbix_server.conf
#vim /etc/zabbix/zabbix_server.conf
DBPassword=zabbix@
#vim /etc/httpd/conf.d/zabbix.conf
php_value date.timezone Asia/Tehran
# systemctl restart zabbix-server zabbix-agent httpd
# systemctl enable zabbix-server zabbix-agent httpd

#systemctl status zabbix-server
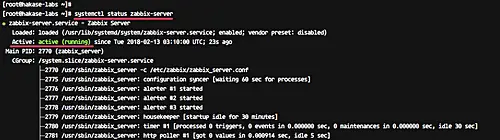
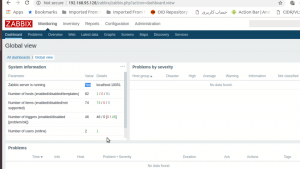
Now your Zabbix server is up and running!
Step 4 – configure Zabbix frontend:
now go to this link http://server_ip_or_name/zabbix
if the page not open , maybe you have to disable selinux
#vim /etc/selinux/config
SELINUX=disabled
now, restrat the server(init 6)
Check selinux by getenforce command
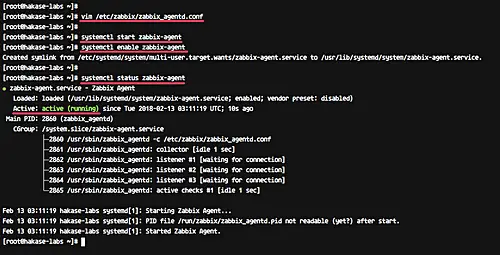
Zabbix-agent is running on the system – check it using the following command.
#systemctl status zabbix-agent
the result as shown below,
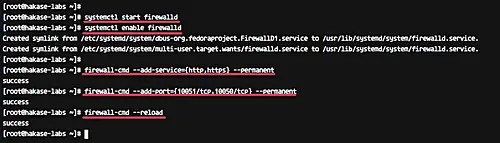
Step 5 – Configure Firewalld
In this step, we will open the HTTP and https port
If you do not have firewalld on your system, install it using the following command.
#yum -y install firewalld

#systemctl start firewalld
#systemctl enable firewalld

#firewall-cmd --add-service={http,https} --permanent
#firewall-cmd --add-port={10051/tcp,10050/tcp} --permanent

#firewall-cmd --reload#firewall-cmd --list-all
Step 6 – Restart All Service
#systemctl restart zabbix-server
#systemctl restart zabbix-agent
#systemctl restart httpd
Now open your web browser, and type your server IP address.
http://Your-Server-IP/zabbix/
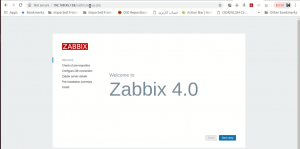
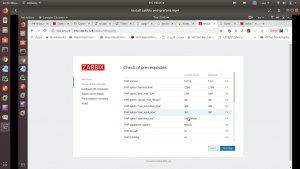
Click the ‘Next Step‘ button.
Now, Zabbix will check all system requirements for its installation. Make sure there is no error.
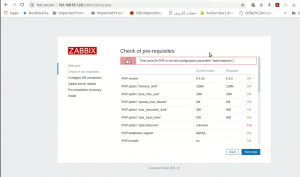
For this error :
#cat /etc/php.ini |grep timezone
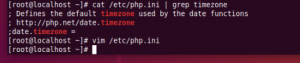
#vim /etc/php.ini
date.timezone="Asia/Tehran"
#systemctl restart httpd
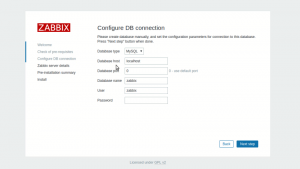
And click the ‘Next step‘ button.
For the database info, type all your database setup.
Now comes the Zabbix server details configuration. On the ‘Host’ field, type your own server IP address, and change the name with your own domain name or hostname.
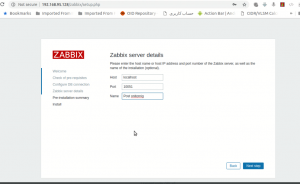
Click Next Button
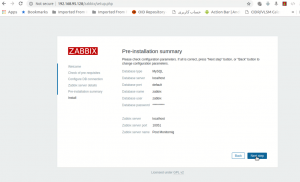
click Next.
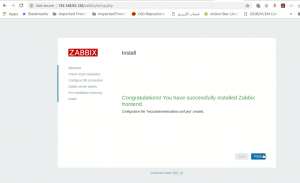
Click Finish,
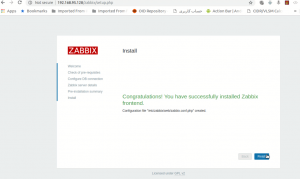
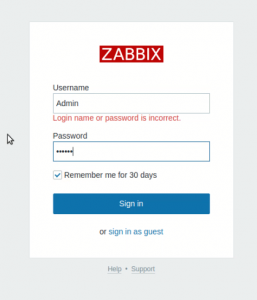
welcome to Zabbix: the default username is: Admin and Password is : zabbix
Maybe you meet this Error”zabbix server is not running”:
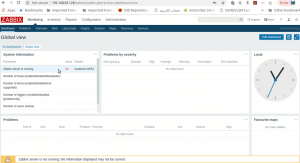
here , do like this:
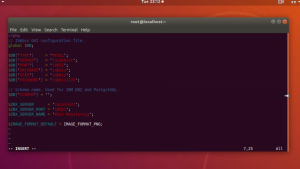
#vim /etc/zabbix/web/zabbix.conf.php
Change Port to 10051
#systemctl restart zabbix-server

#systemctl restart zabbix-server
Check DBUser, DBPassword in ‘/etc/zabbix/zabbix_server.conf file ‘ :
#vim /etc/zabbix/zabbix_server.conf
DBUser = zabbix

DBPassword = zabbix@
#systemctl restart zabbix-server